
How to Lay Insulation in an Attic: A Safe, Step-by-Step Guide
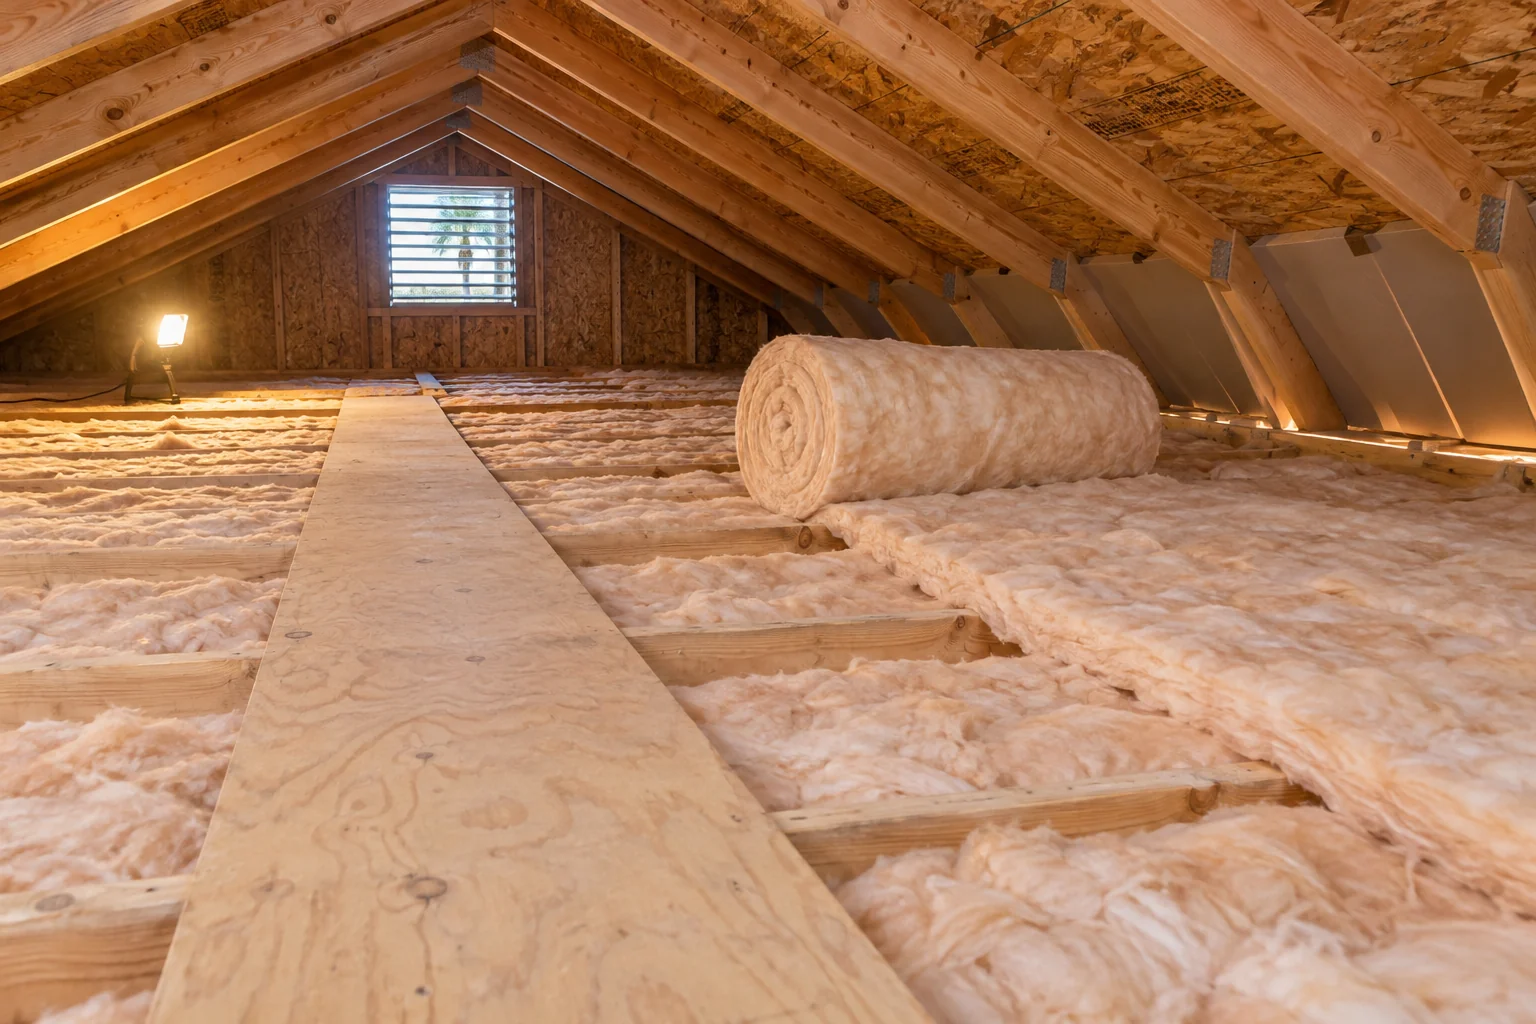
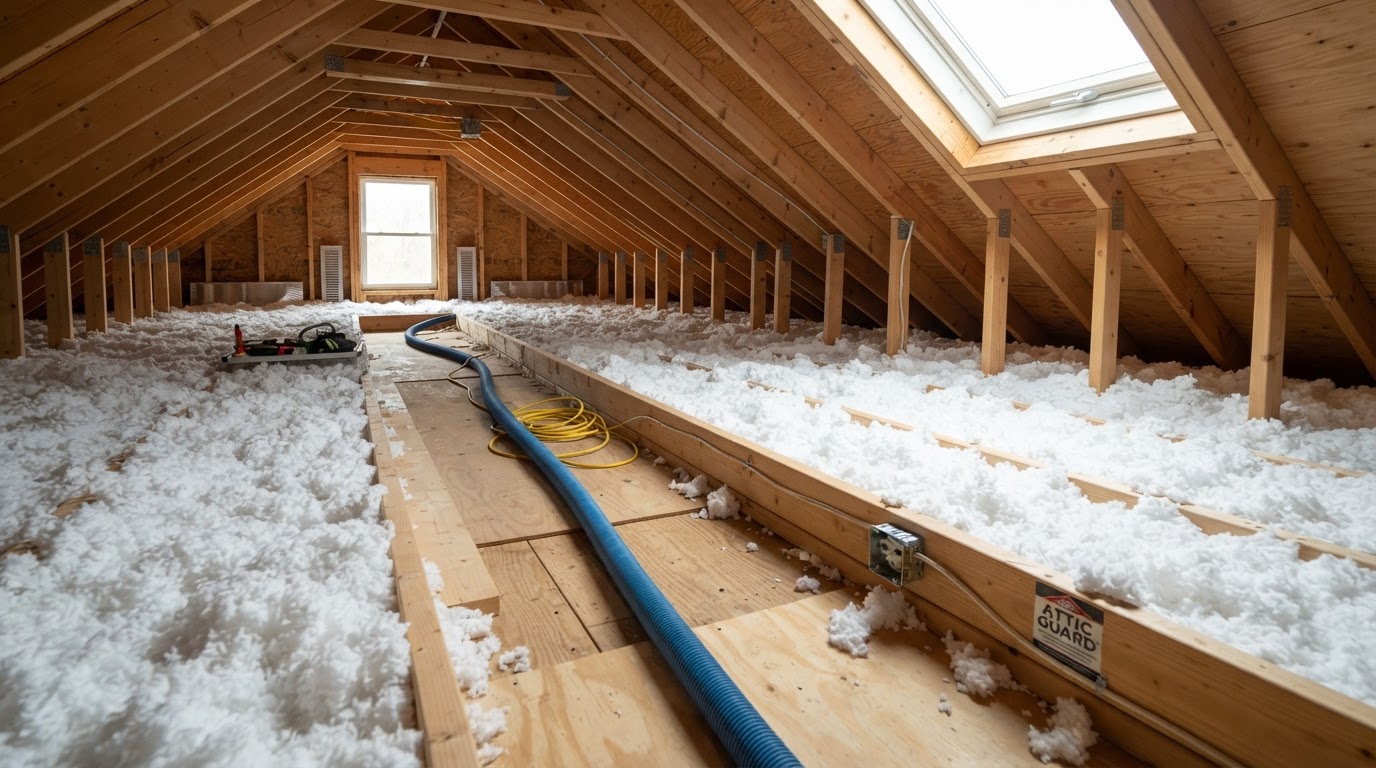
Laying insulation in an attic is one of the more approachable home energy projects, but only when the attic is dry, clean, and safe to work in. This guide walks Los Angeles homeowners through the right order: check what you have, fix problems first, air-seal, protect ventilation, then lay and verify the insulation.
The short answer: To lay insulation in an attic, first inspect for moisture, pests, and unsafe wiring. Seal air leaks in the attic floor, install baffles at the eaves so soffit vents stay open, then fit batts snugly between the joists without compressing them. Add a second unfaced layer across the joists if you need more R-value, keep clearances around fixtures and flues, and photograph the finished work.
Not sure your attic is ready for DIY? Request a free attic insulation estimate to find out whether a simple top-up makes sense or the old material needs to come out first.
Is Laying Attic Insulation a DIY Job?
Adding batts or rolls to an open, easy-to-reach attic floor can be a reasonable DIY project for a handy homeowner. ENERGY STAR describes attic insulation as a moderately difficult DIY project and recommends air sealing the attic before adding insulation. The job becomes a professional project when the attic hides a problem that new insulation would only bury.
Stop Before Starting If You Find Any of These
- Wet, damp, or stained insulation: often a roof leak or condensation issue that must be fixed first.
- Mold or rot on rafters, sheathing, or joists.
- Rodent droppings, urine odor, nesting, or tunnels in the existing insulation.
- Suspected vermiculite: lightweight, pebble-like grey or gold-brown flakes. Do not disturb it until tested by an approved lab, because some vermiculite contains asbestos.
- Knob-and-tube wiring, damaged wiring, or uncovered junction boxes.
- Bath, kitchen, or dryer vents that dump moist air into the attic instead of outdoors.
- Little or no attic ventilation or soffit vents already packed with insulation.
- Tight, unsafe access with no solid joists or boards to stand on.
If any item applies, new insulation is the last step, not the first. The attic insulation removal and replacement service addresses contaminated and rodent-damaged material before fresh insulation is installed.
Basic PPE, Heat, Lighting, and Safe Footing
Wear safety glasses, gloves, a well-fitting dust mask or respirator, long sleeves or a disposable coverall, and a cap to protect against roofing nails. Bring a bright work light and flashlight. Lay plywood boards across the joists and step only on framing, never on bare drywall. Los Angeles attics heat up quickly, so work early, drink water, and take breaks.
Check the Existing Insulation and Set Your Goal
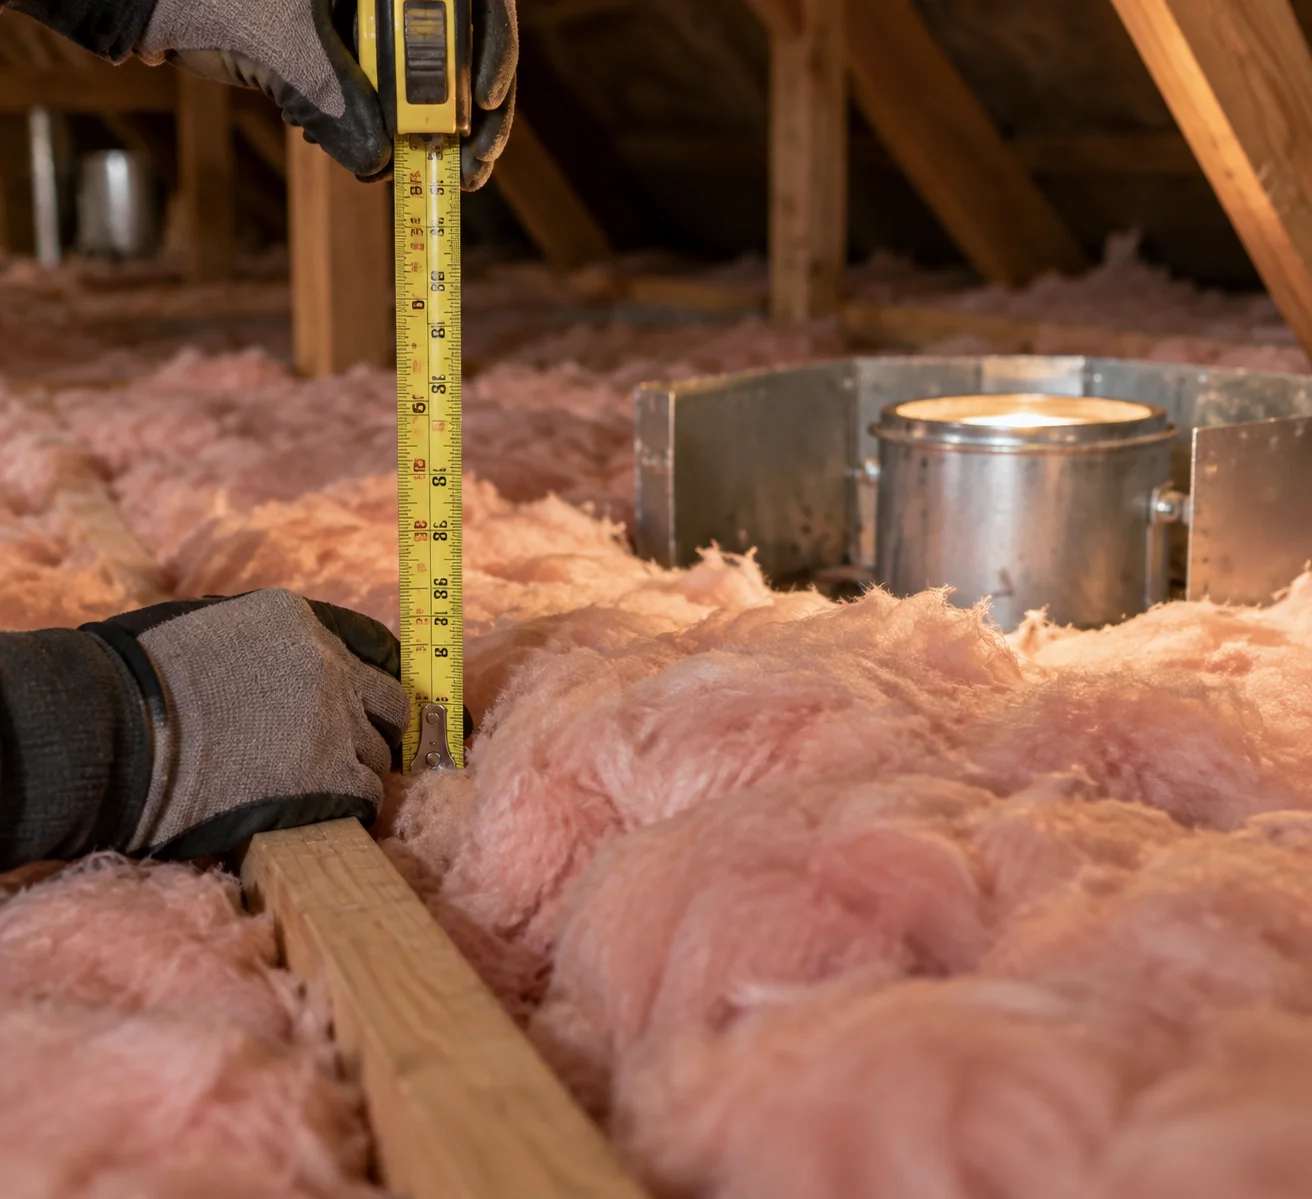
Look across the attic floor. If insulation sits level with or below the tops of the joists, you may need more. Measure depth in several spots, note the material type, and estimate the attic floor area above the living space.
When Topping Up Is Reasonable and When Removal Is Warranted
Topping up makes sense when existing insulation is clean, dry, odor-free, and simply too thin or settled. Removal is preferable when material is wet, moldy, pest-contaminated, crushed flat, or suspected vermiculite. New batts over a contaminated layer can hide the problem and retain odors or debris.
R-Value Is Not the Same as Thickness
R-value measures resistance to heat flow. Different materials deliver different R-values per inch, and compressed insulation loses performance. Much of the Los Angeles basin falls in IECC Climate Zone 3, where ENERGY STAR's recommended home insulation R-values call for about R-49 in an uninsulated attic, or about R-38 additional insulation when 3 to 4 inches are already present. Confirm the target for your home and applicable code before buying material. [Client confirmation required: confirm climate-zone coverage for the full service area.]
Choose Batts, Rolls, or Blown-In Insulation
The right material depends on the attic layout and what is already there.
| Factor | Fiberglass batts or rolls | Blown-in (loose-fill) |
|---|---|---|
| Best attic layout | Open floors with regular joist spacing | Irregular framing, many obstructions, or low clearance |
| Over existing insulation | Use unfaced batts over loose fill or old batts | Works over existing batts or loose fill |
| Equipment | Utility knife, straightedge, tape measure | Blowing machine and a second person |
| DIY difficulty | Moderate | Moderate to difficult |
| LADWP rebate eligibility | Batt and roll only under current program terms; check before buying | Not eligible under current program terms |
| When to hire a pro | Hazards, difficult access, or removal needed | Large attic, even depth needed, or removal needed |
When Fiberglass Batts or Rolls Make Sense
Batts fit standard joist bays and need no blowing machine. They can be a practical choice for an open, regularly framed attic.
When Loose-Fill or Blown-In Insulation Is a Better Fit
Blown-in insulation fills around wiring, bracing, and irregular framing more readily than cut batts. It can be faster for large attics, but achieving even depth takes equipment and practice.
When Not to Layer Over Existing Material
Do not add a faced batt (paper or foil backing) on top of existing insulation, because the facing can trap moisture. Never cover wet, moldy, pest-contaminated, or suspected vermiculite insulation.
Prepare the Attic Before Laying Insulation
Preparation is where many DIY attic insulation projects succeed or fail. Follow these steps before laying material.
Repair Leaks and Address Moisture First
Fix roof leaks and reroute bath, kitchen, or dryer exhaust that ends in the attic so it vents outdoors. Let damp framing dry fully before continuing.
Air-Seal Gaps Before Adding Insulation
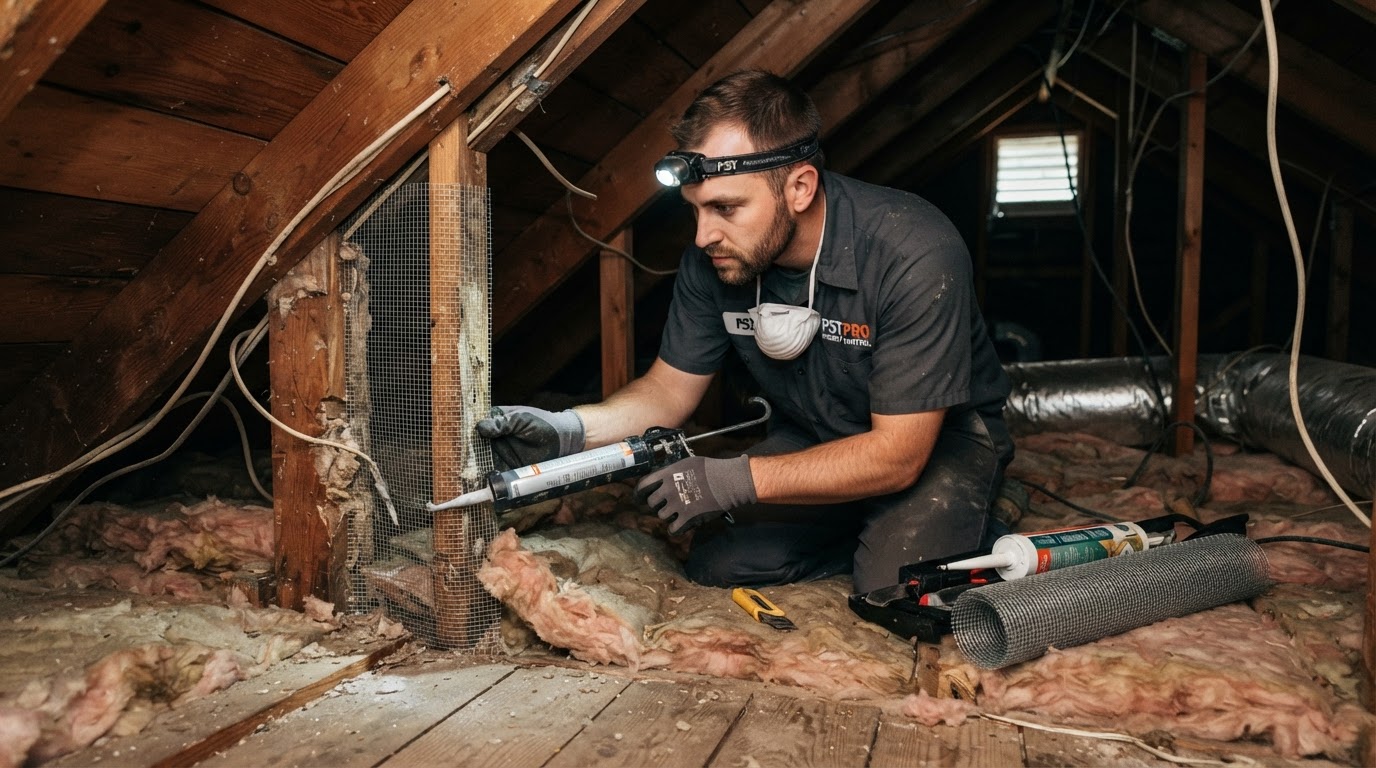
Insulation slows heat flow, but it does not stop air movement. Seal gaps around plumbing stacks, wiring holes, top plates, dropped soffits, and the attic hatch with materials rated for the application. Keep standard foam away from flues and chimneys, which need fire-rated materials and clearances. The attic air sealing service locates and seals leaks so insulation can perform closer to its rated value.
Install Baffles Without Blocking Soffit Airflow
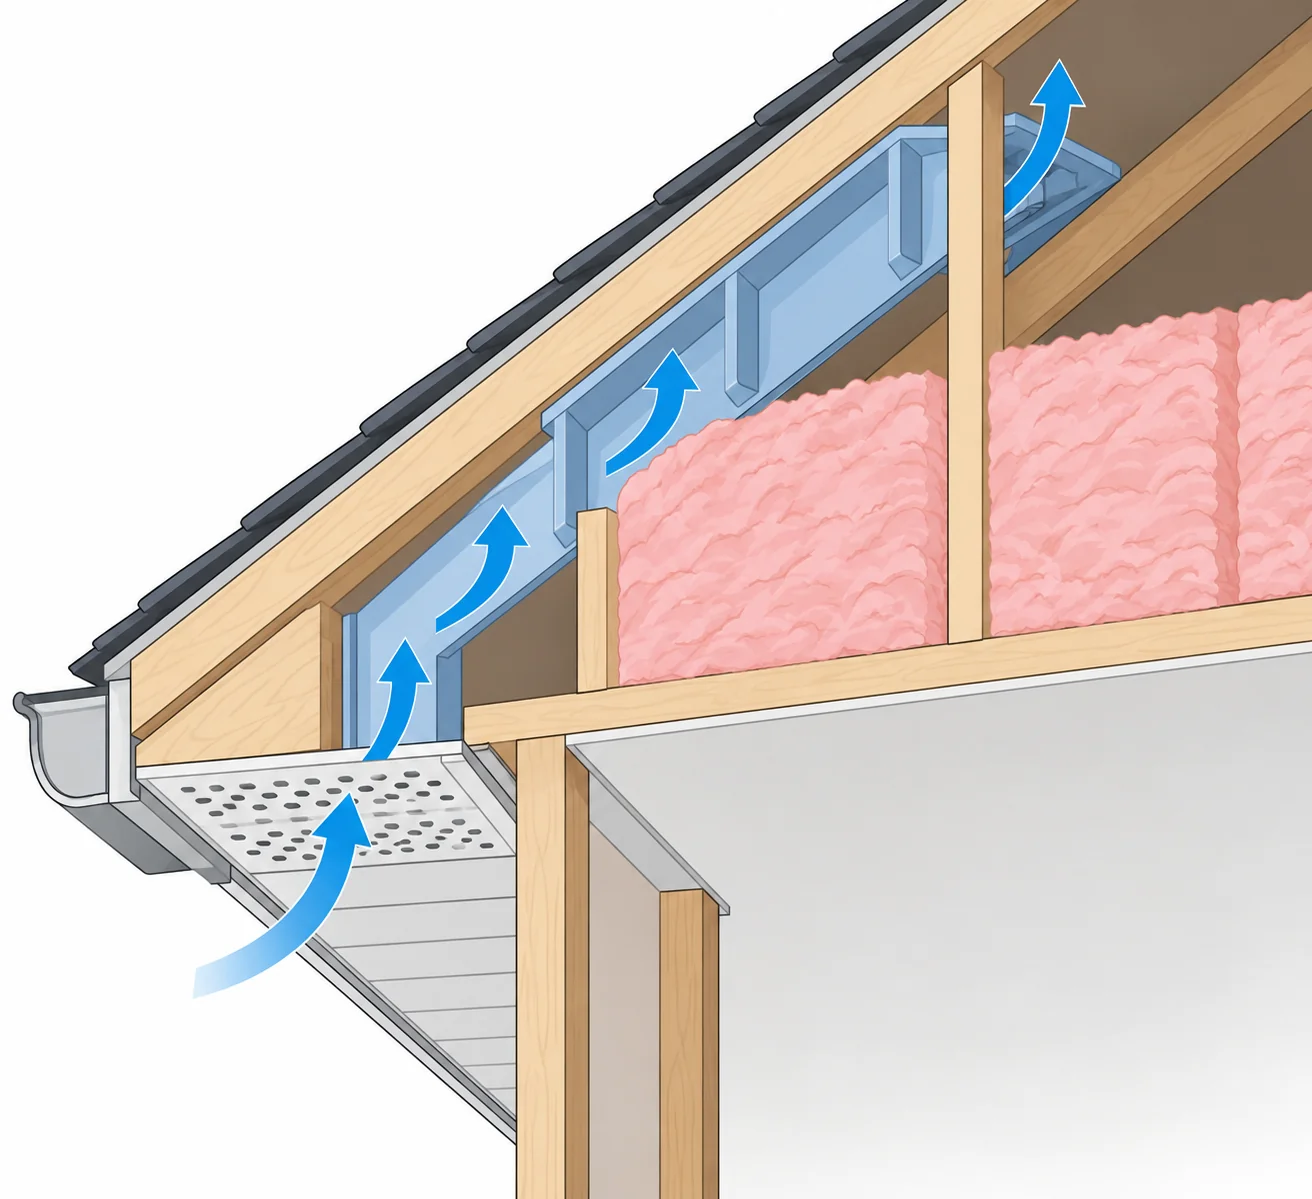
Rafter vents, also called baffles, are channels installed between rafters at the eaves. They hold insulation back so outside air can flow from soffit vents into the attic. Install one in every rafter bay with a soffit vent before adding insulation near the edges.
Protect Fixtures, Flues, the Hatch, Ducts, and Service Paths
Check each recessed light. If it is not marked IC (insulation contact), keep insulation at least 3 inches away and build an appropriate barrier. Keep required clearance around chimneys and flues, which also need a non-combustible dam. Leave a clear path to the HVAC unit, junction boxes, and hatch.
How to Lay Fiberglass Batts or Rolls
Once the attic is sealed, dry, and vented, the laying itself is straightforward. Work from the far edges back toward the hatch so you do not kneel on finished insulation.
- Measure joist bays. Check spacing (often 16 or 24 inches on center) and buy batts sized to match.
- Cut batts to fit. Compress the batt with a straightedge on a scrap board and cut with a sharp utility knife. Cut slightly long so the ends butt tightly.
- Fit snugly, never stuff. Fill each bay edge to edge without gaps while keeping the batt at full loft. Compressing it lowers its R-value.
- Split around wiring. Slice the batt through its thickness and slip one half under and one half over the wire instead of compressing the insulation.
- Add a second layer across the joists. If you need more R-value, roll unfaced batts perpendicular to the first layer. This covers joist tops that otherwise act as thermal bridges.
- Keep clearances. Stop at baffles, non-IC fixtures, and flue dams. Do not cover soffit vents.
- Insulate and weatherstrip the hatch. Attach a batt or rigid foam to the back of the hatch so it is not the weak spot.
Check the Work Before Closing the Hatch
- Coverage is even, with no gaps, voids, or exposed joist tops.
- Batts are at full loft, not compressed.
- Every baffle is open and soffit vents are clear.
- Fixtures, flues, and junction boxes have proper clearance.
- Depth markers or measurements show the target R-value is reached.
Record Product, R-Value, Coverage, and Photos
Keep the receipt, manufacturer's R-value label, square footage covered, and dated before-and-after photos from the same angles. These records can help with future maintenance, warranty questions, and rebate documentation.
Los Angeles Permits and LADWP Rebate Notes
The LADWP Attic Insulation Rebate Program offers rebates for qualifying attic-floor insulation, subject to current program terms. As checked in November 2026, the program terms specify batt and roll products and require a finaled Los Angeles Department of Building and Safety (LADBS) permit, a paid itemized invoice, the manufacturer's product rating certificate, and dated before-and-after photos. Funds are limited, rebates are not guaranteed, and terms can change without notice. Verify all requirements with LADWP and LADBS before purchasing or installing.
What to Confirm Before Purchasing or Installing
- You meet the program's customer and property eligibility requirements.
- Your product meets the current R-value requirements.
- You have confirmed permit requirements with the relevant building department.
- You take required before photos before work begins.
If you live outside LADWP's service area, check with your own utility and city building department for incentives and permit rules.
When to Hire an Attic Insulation Professional
Call a professional when the attic shows contamination, moisture, mold, suspected vermiculite, wiring concerns, or ventilation problems, or when access is too tight to work safely. Professional help may also be a better fit when old insulation must be removed, the attic needs sanitizing, or a large or obstructed space needs blown-in coverage. Los Angeles Attic Cleanup describes services for insulation removal, air sealing, and fresh blown-in or batt insulation. Explore attic services in Los Angeles or read how to restore a problem attic the right way.
Key Takeaways
- Laying insulation works best after leaks, moisture, pests, and wiring hazards are addressed.
- Air-seal the attic floor and install baffles before adding insulation.
- Fit batts snugly at full loft, and add a second unfaced layer across joists when more R-value is needed.
- Keep insulation clear of soffit vents, non-IC fixtures, and flues.
- In LADWP territory, verify current rebate and permit terms before starting.
Lay Attic Insulation the Right Way, or Let Us Handle It
Laying insulation in an attic pays off when the sequence is right: inspect, fix, seal, vent, install, and verify. If your attic passes the stop-work checklist, a careful batt top-up may be a reasonable DIY project. If it does not, new insulation should wait until the underlying problems are solved.
Book a free attic insulation estimate with Los Angeles Attic Cleanup to discuss whether your attic needs a top-up, air sealing, or removal and replacement, or call us at (877) 706-9839.
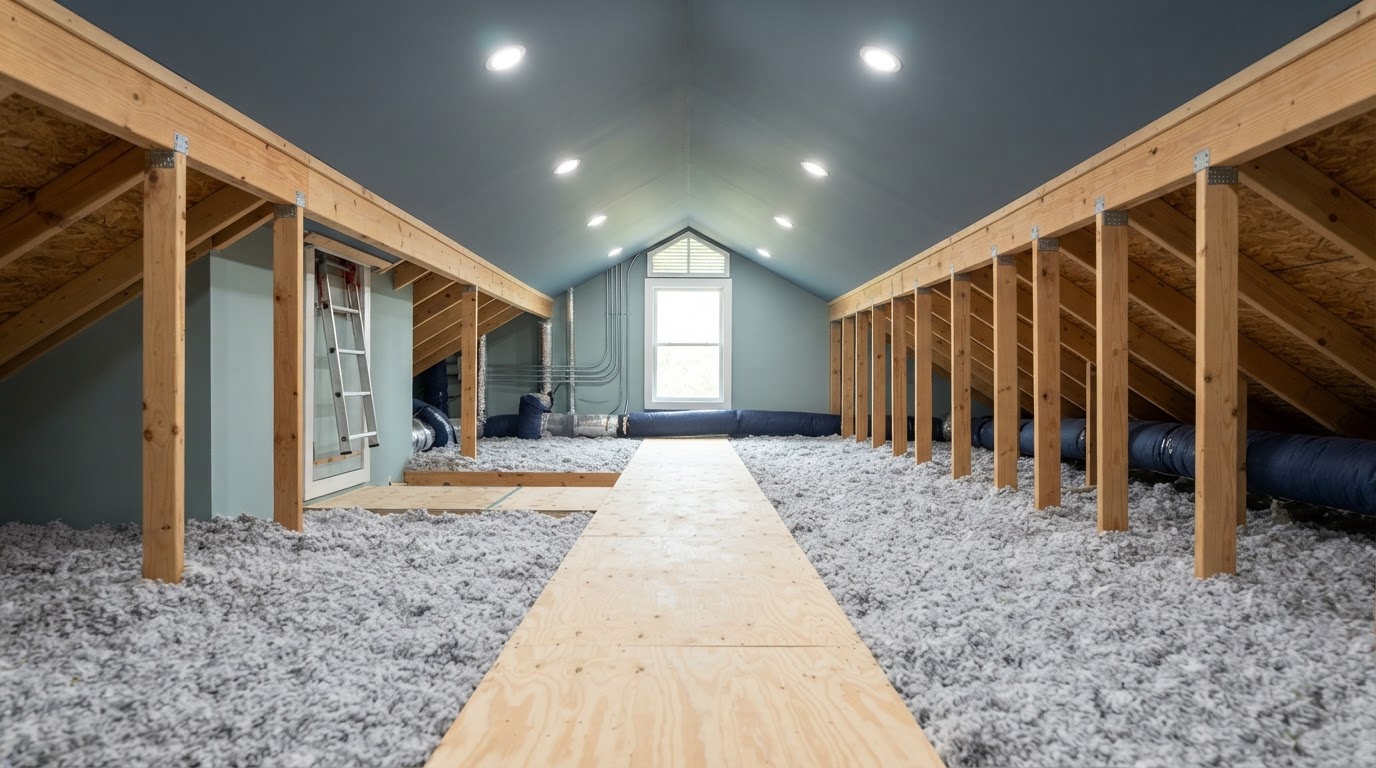
Ready for a clean, safe, energy-efficient attic?
Get a free estimate today. Same-day service available across Los Angeles.